Web Components
Jupico supports multiple payment methods through secure, ready-to-use web components, including credit cards, bank accounts (eCheck/ACH), and digital wallets like Apple Pay and Google Pay. Each method handles data collection, validation, and tokenization on the client side, ensuring sensitive payment details never reach your systems. Instead, a short-lived one-time token is returned and can be safely used by your backend to complete the payment, providing a consistent, secure, and frictionless payment experience across all methods.
Credit Card Form
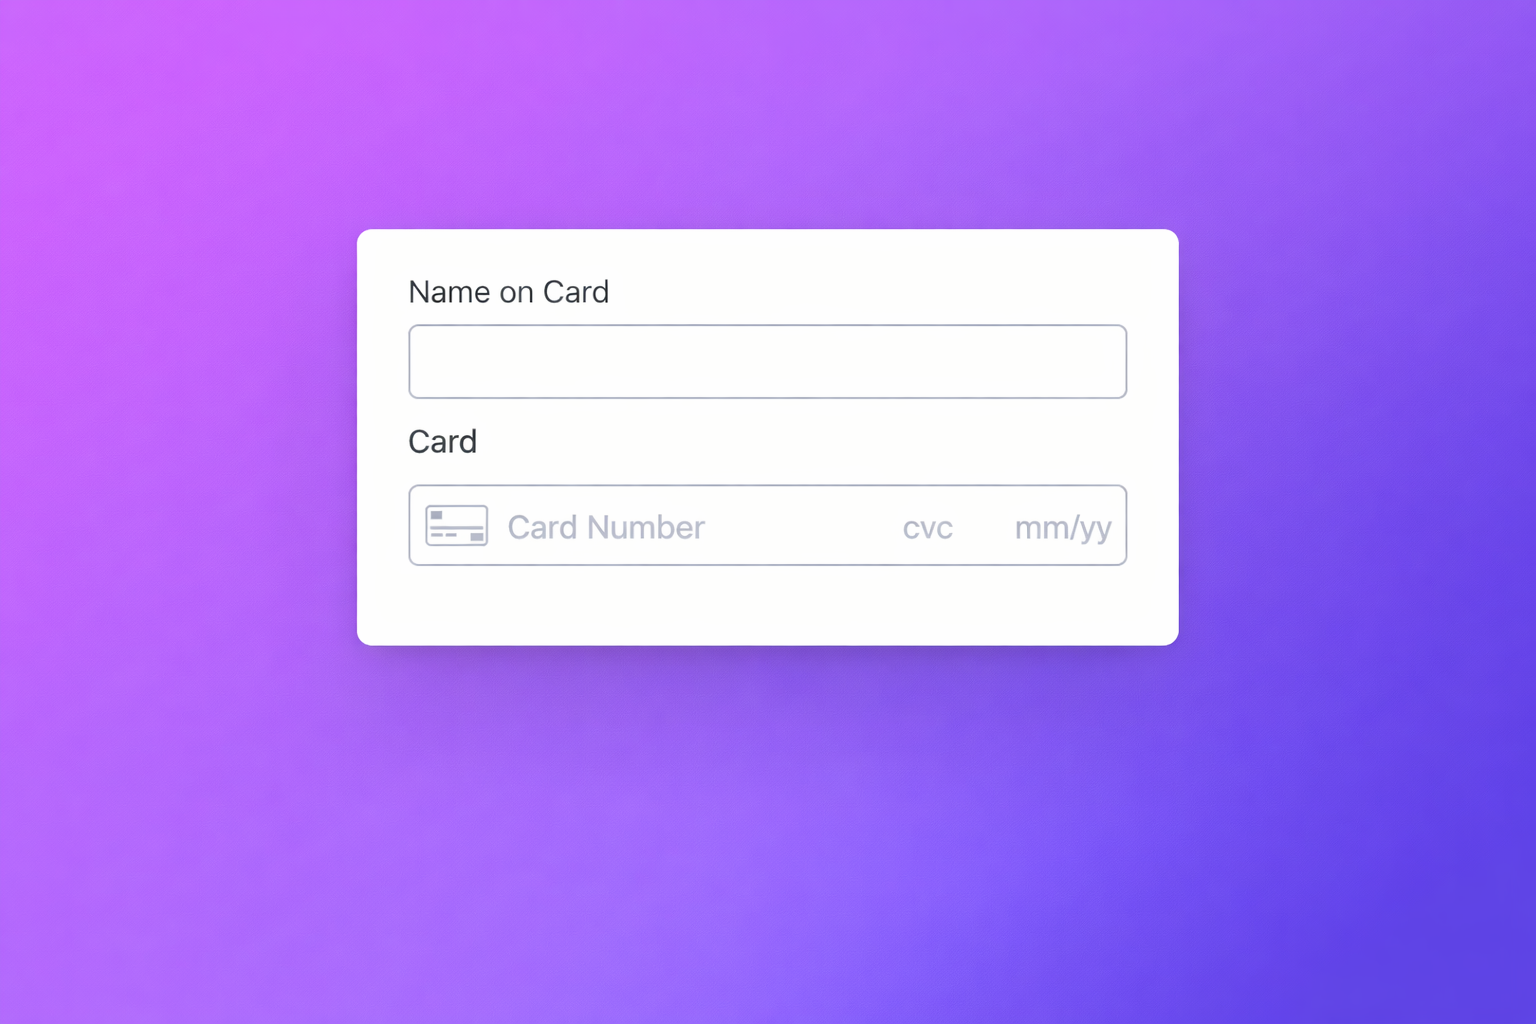
Jupico’s Tokenization Form is a secure, ready-to-use web component that lets you collect and tokenize card data without handling sensitive information. All validation, security, and tokenization are managed by Jupico, returning a one-time token you can safely use in your payment flow.
Bank Account Form
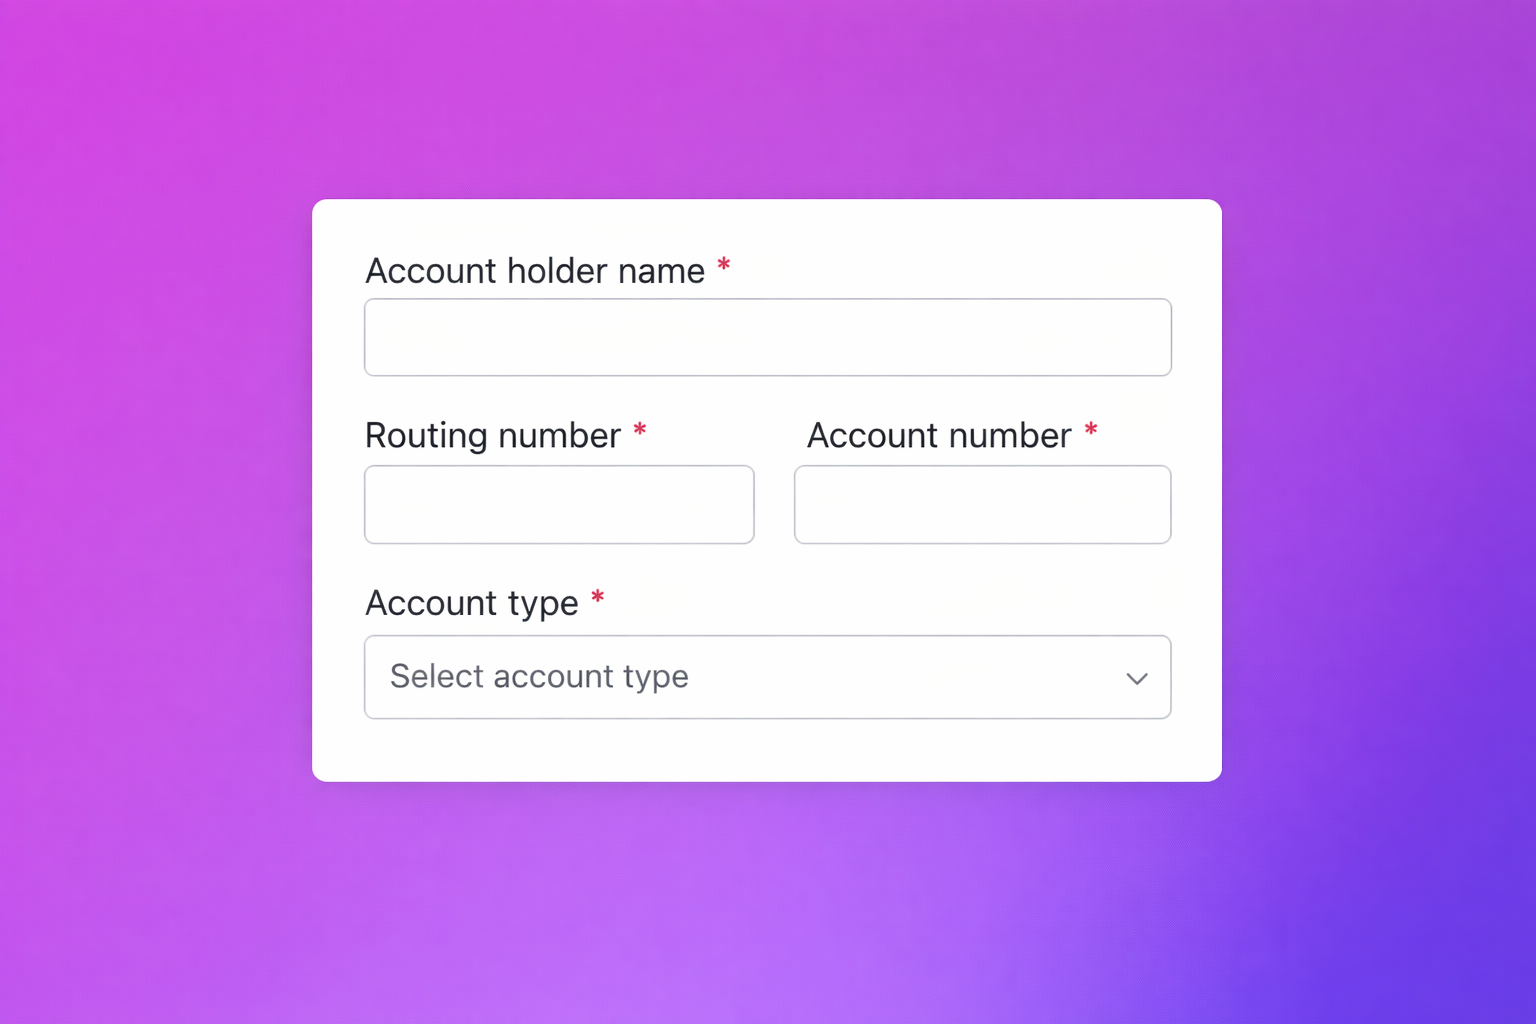
The eCheck / Bank Account Tokenization Form is a secure, reusable web component that collects and tokenizes bank account details for ACH and eCheck payments. All validation, security, and tokenization are handled by Jupico, ensuring sensitive data never touches your systems and returning a short-lived one-time token for safe backend processing.
Wallets
Apple Pay
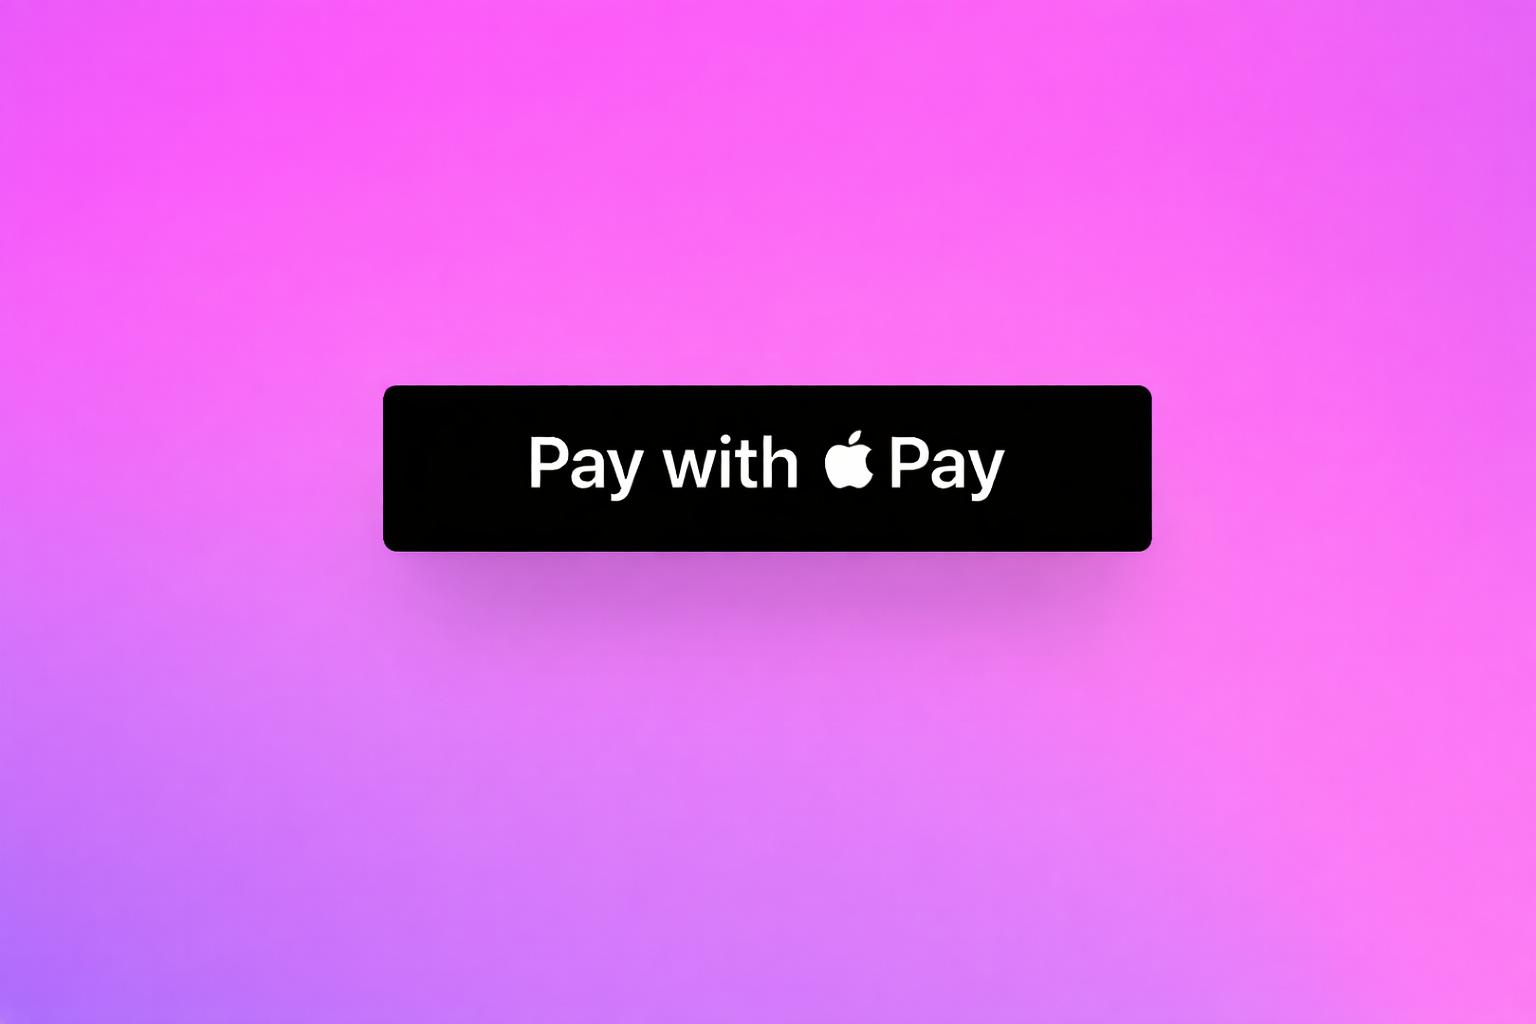
The Apple Pay Button is a ready-to-use payment component that enables customers to complete transactions using Apple Pay with a single tap. It securely initiates the Apple Pay flow and returns a tokenized payment result, allowing you to offer a fast, frictionless checkout experience without handling sensitive payment data.
Google Pay
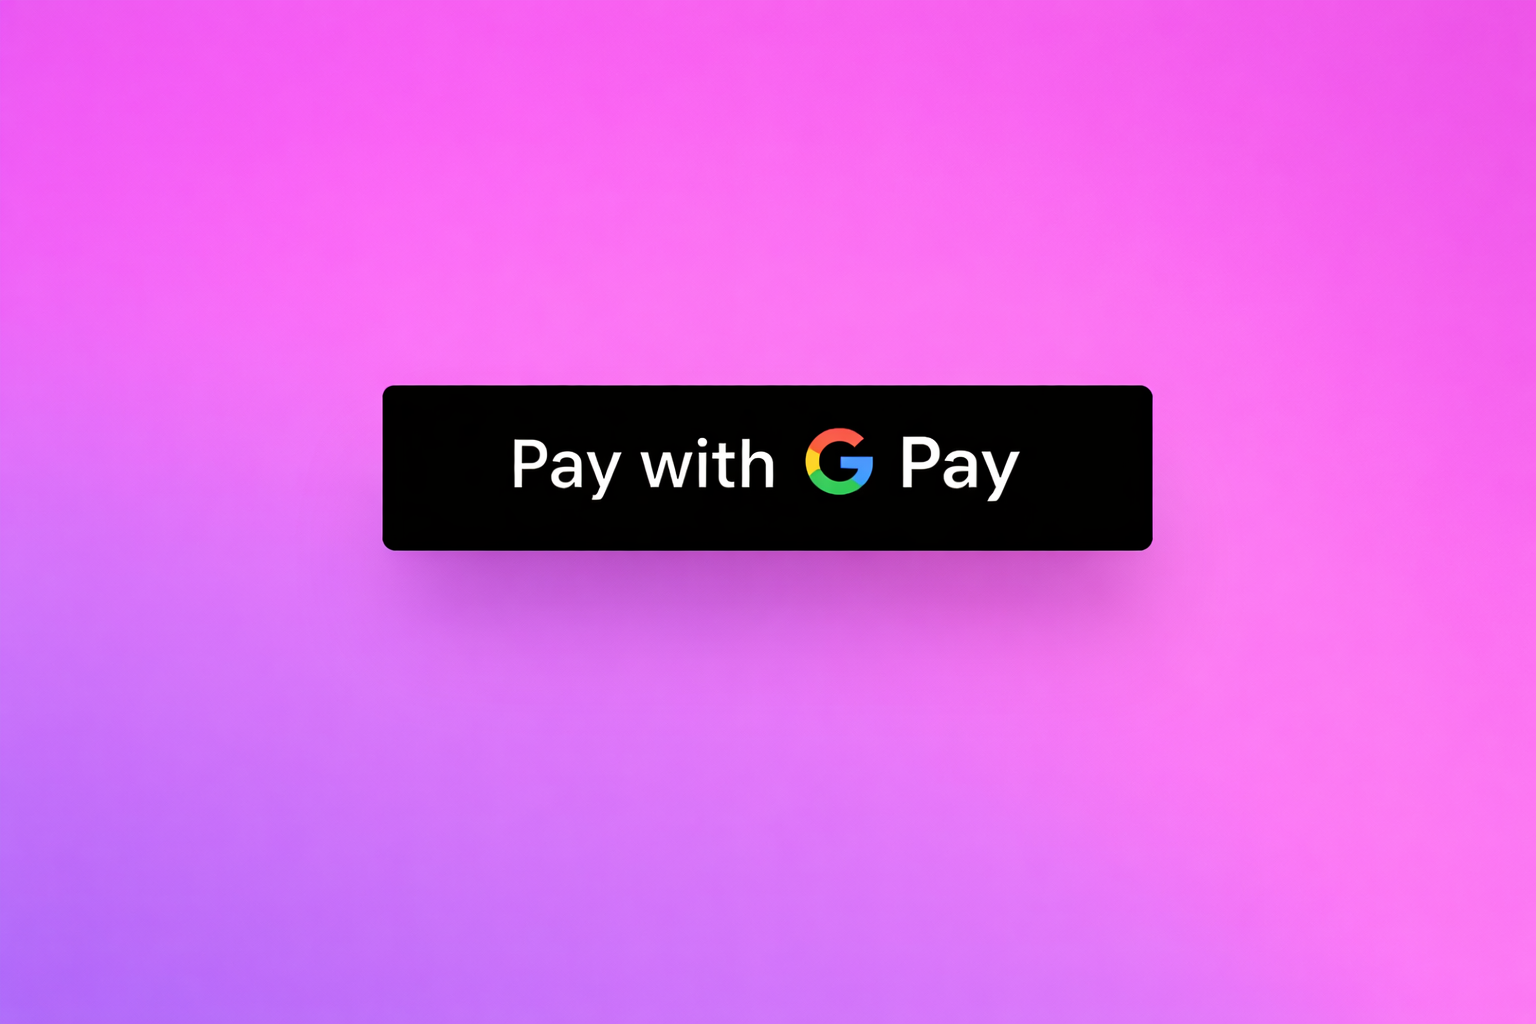
The Google Pay Button is a plug-and-play payment component that lets customers pay using Google Pay in just a few clicks. It securely triggers the Google Pay flow and returns a tokenized payment result, enabling a fast and seamless checkout experience without exposing sensitive payment data.