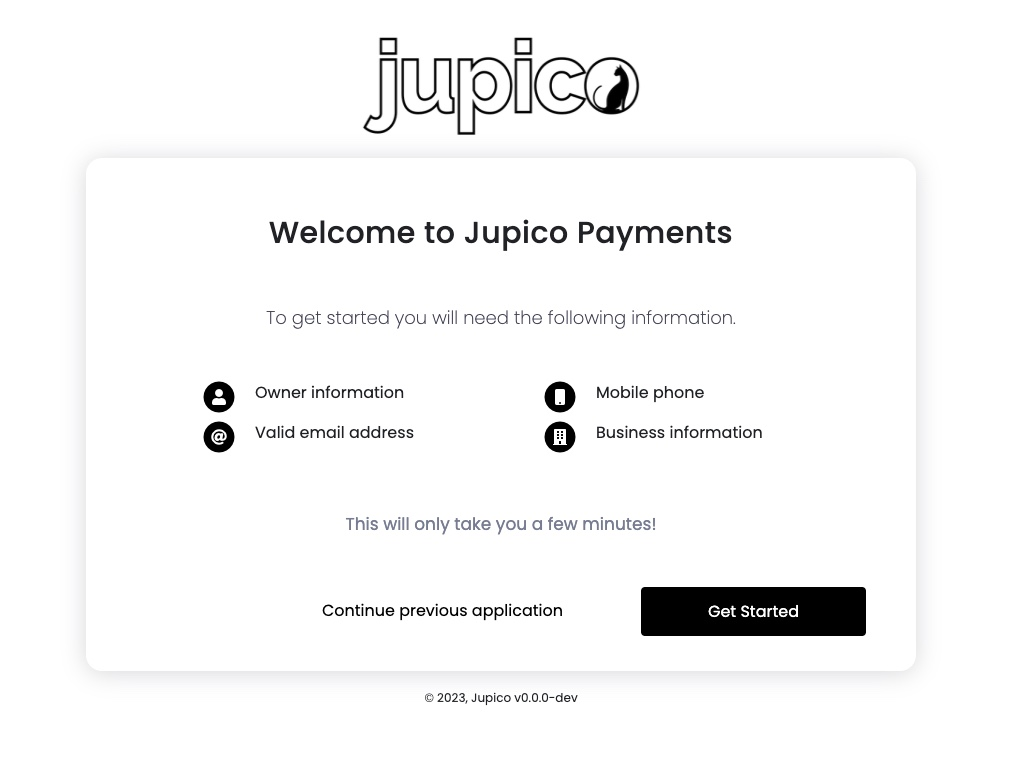
Rapid
Jupico offers a pre-built digital onboarding form that requires no code or technical resources to use.
How it works
Launching with Rapid is easy and the quickest way to get started with Jupico. No code or development is required.
Jupico provides a unique URL for your users to complete the account setup flow to start accepting payments. Jupico handles the majority of the user experience and communication.
URL Example: https://onboarding.jupico.com/<your_platform_name>

The platform can invite a user to begin onboarding from our Backoffice, by importing a list, or by API.
Once an invite is sent to user you can follow the progress from Sent to Approved from our Backoffice.
How to use Rapid Onboarding
- Login to the Jupico Backoffice.
- In the left-hand navigation menu, select
Invites. - Select
+ New Invite. - Complete name, email, and phone number fields for your user.
- Select
Save and Send.
Your user will receive an email with a unique link to complete the account setup. You can monitor application progress through the Jupico Backoffice using the table on the Invites page.
Each time an account is submitted, a webhook will send your platform a POST request with the collected data.
Note: You also have the ability to generate a custom onboarding link that can be shared outside of the Jupico platform via sms, email, etc. If a custom link is used to invite a merchant, then application status will not be tracked through the Backoffice. Only invites sent using the + New Invite function will be tracked in the Backoffice.
Updated about 1 year ago
