via Backoffice
Overview
As a service provider, you can invite merchants to create their own payments account and monitor their onboarding progress directly through the Jupico Backoffice. You also have the option to define specific fees before sending out an invitation.
How it Works
To invite a merchant through the Backoffice:
-
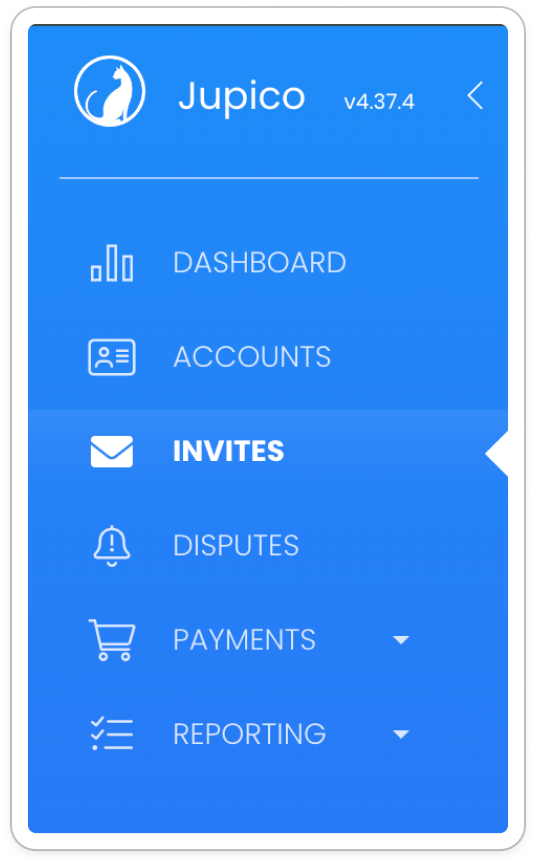
Navigate to the Invites page from the left-hand menu.
-
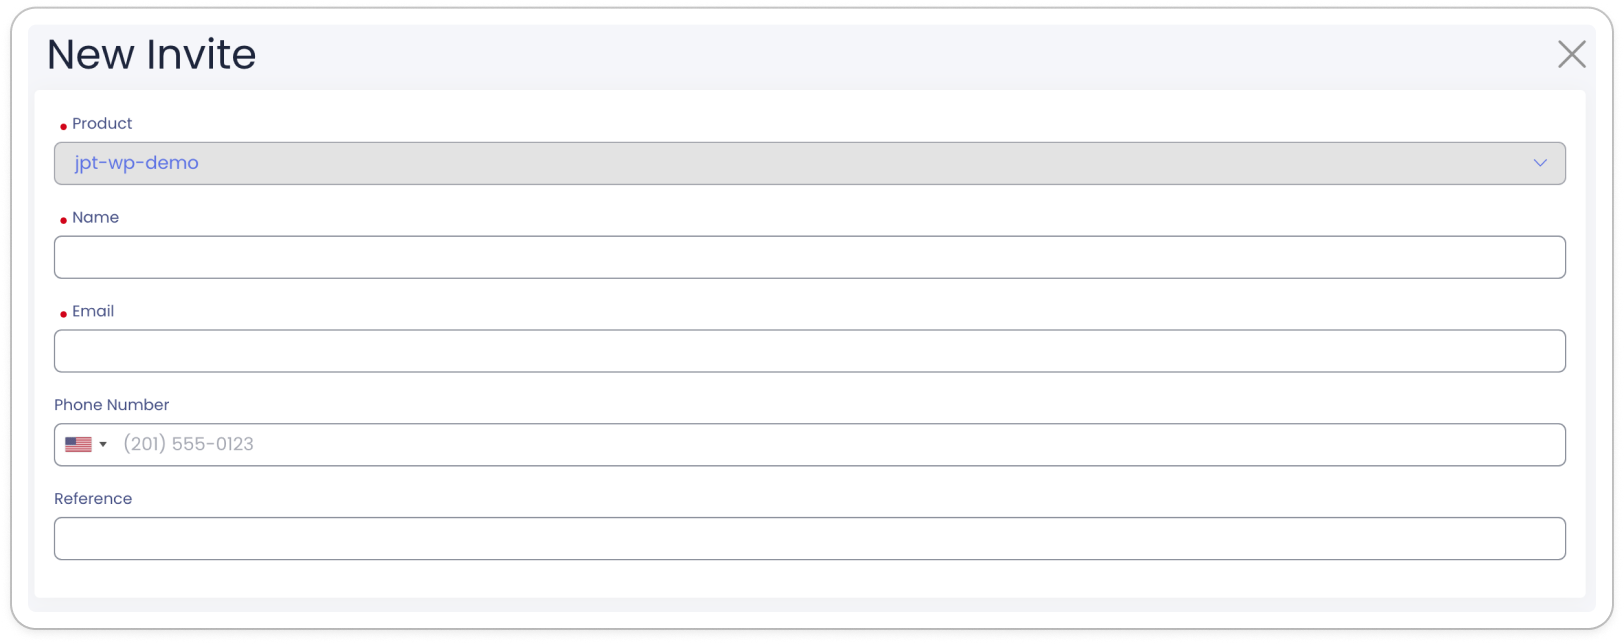
Click on the
+ New Invitebutton located at the top right of the page.
-
Enter the required information for the merchant.
-
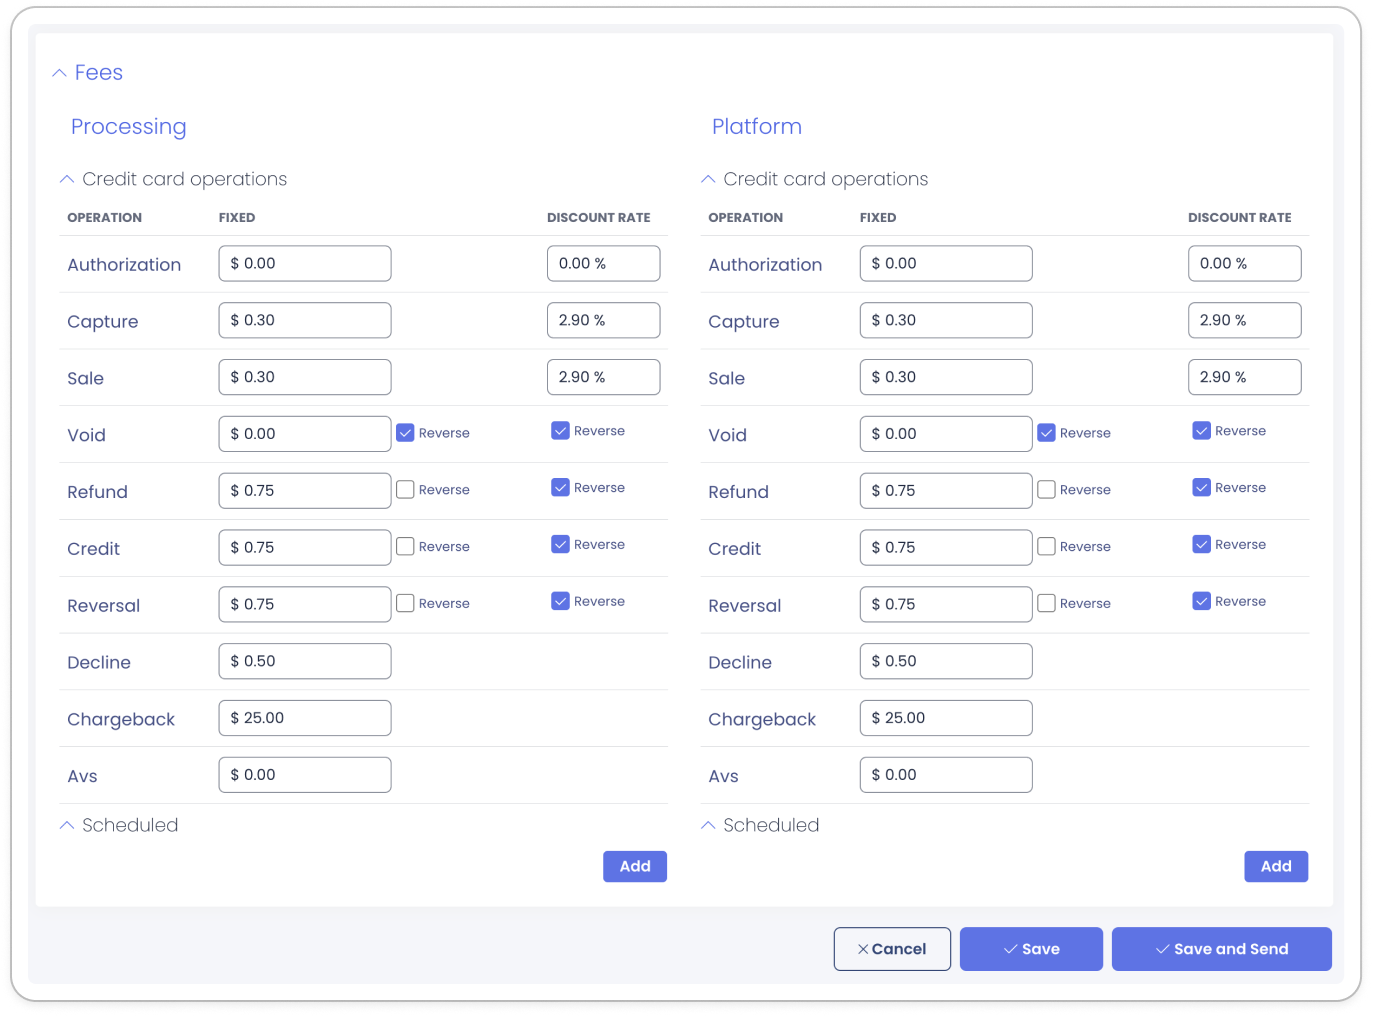
Specify applicable fees using the Fee Dropdown Menu.

-
Choose to either:
- Save and Send the invite immediately, or
- Save the invite to send later on.
Trackable Links and Merchant Statuses
Invitations created through the + New Invite button are trackable on the Invites page. As merchants progress through the onboarding process, their status will automatically update within the table on this page.
| Status | Description |
|---|---|
| Created | The invite has been created but not yet sent. |
| Sent | The invite has been sent to the merchant. |
| Re-sent | The invite has been resent to the merchant. |
| Initiated | The merchant has opened the invitation and started onboarding. |
| Cancelled | The invite has been manually canceled by the provider. |
| Expired | The invite has expired and is no longer valid. |
| Onboarding | The merchant is actively completing the onboarding process. |
Untracked Links
Invites generated using the Onboarding button are not tracked on the Invites page. These links are for quick, untracked invitations when you don’t need to follow the onboarding process through the Backoffice.
To create an untracked link:
-
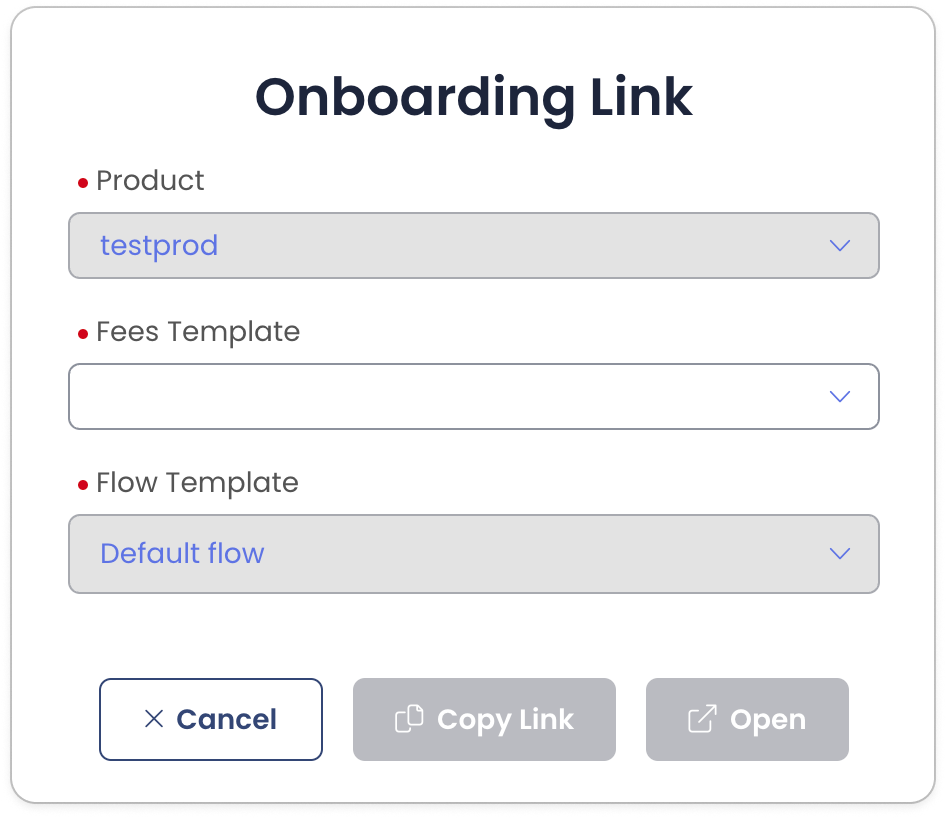
From the Invites page, click the
Onboardingbutton at the top right of the page.
-
In the pop-up modal, select a Fee Template and Flow Template if applicable.
-
Click
Copy Linkto copy the onboarding link orOpento launch the link directly. -
Share the copied link using your preferred messaging tools.
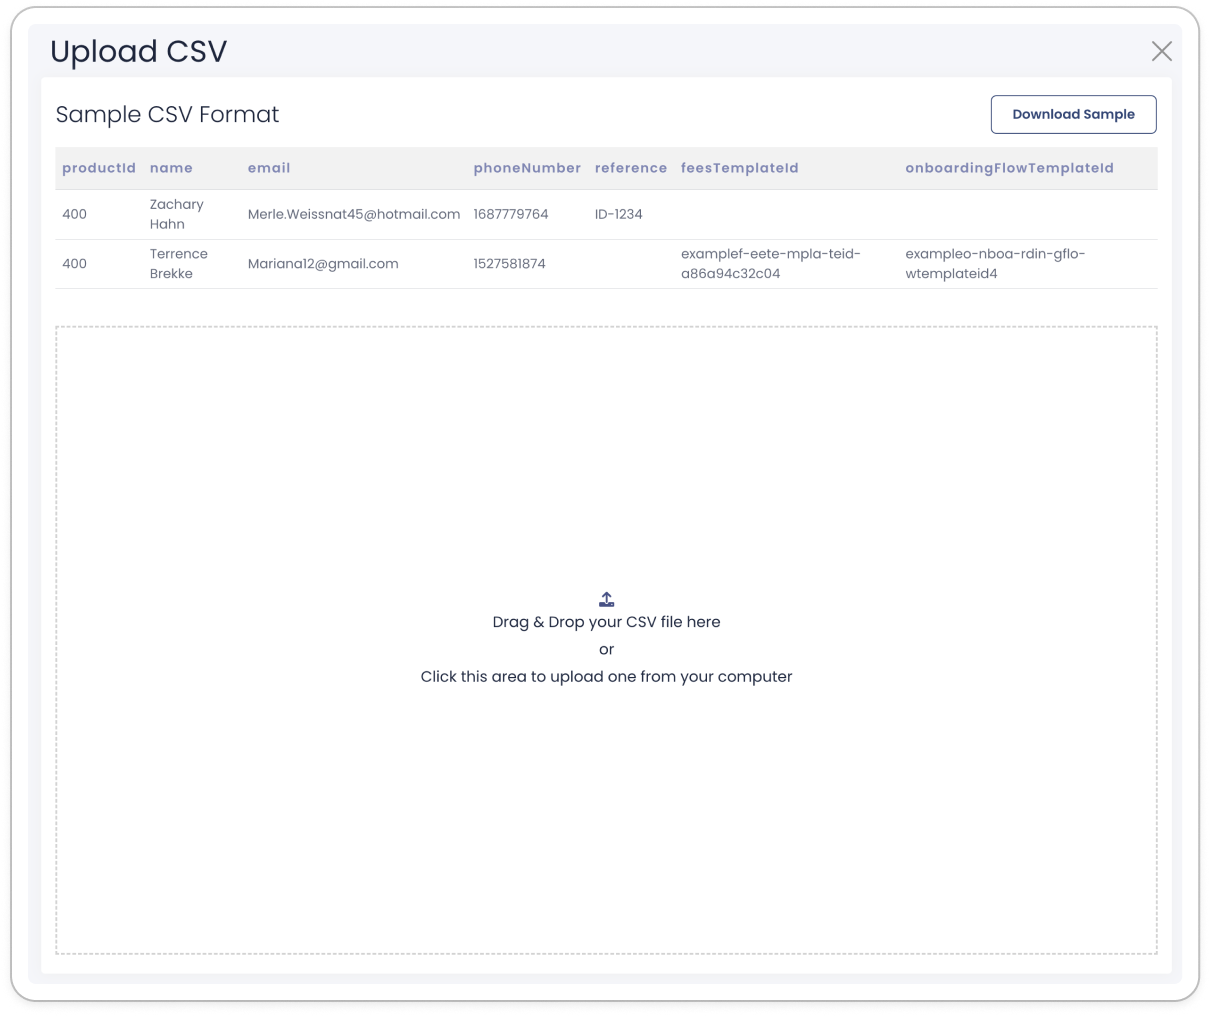
Bulk Invitations via CSV Import
For bulk invitations, you can upload a CSV file containing merchant information, allowing you to invite multiple merchants at once.
To upload a CSV:
-
Go to the
Importoption in the top right of the Invites page.
-
Download and review the sample CSV file to ensure your data is correctly formatted.
-
Click the upload area to select and upload the CSV from your computer.
Additional Features
Defining Fees
You can define custom fees for each merchant invitation via the Fee Dropdown Menu when creating a new invite. This feature allows you to specify fees that will apply to the merchant’s transactions or services.